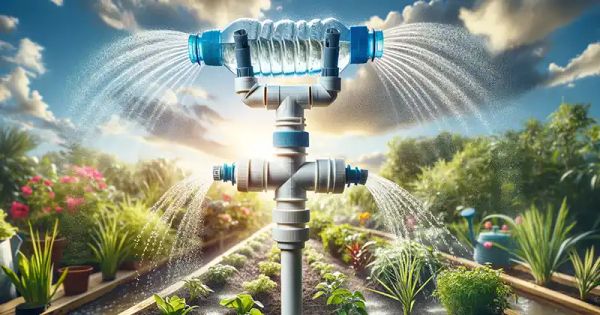
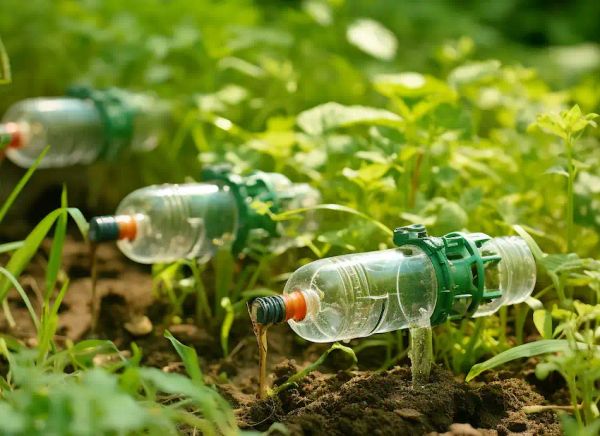
Want to create an efficient and eco-friendly irrigation system for your garden? Look no further! We’ve upgraded the design of a rotating sprinkler by adding a mechanical bearing, resulting in smoother operation and increased durability. This step-by-step guide will help you build your own irrigation sprinkler that’s both easy to make and affordable.
Materials You Need
To get started, you’ll need the following materials:
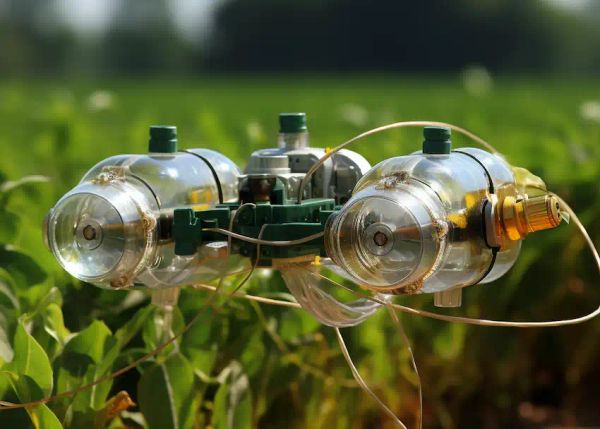
- 2 plastic bottles (0.5-liter size)
- PVC ‘T’ connector (diameter slightly smaller than the mouth of your plastic bottles)
- 1 larger PVC pipe (to house the mechanical bearing)
- 1 smaller PVC pipe (to go through the bearing)
- Mechanical bearing (compatible with the diameter of the smaller PVC pipe)
- PVC glue
- Waterproof sealant or rubber seals
- Drill or sharp tool for making holes
Building the Rotating Sprinkler: Step by Step
1. Preparing the PVC ‘T’ Connector
Start by heating the PVC ‘T’ connector slightly to make it flexible. Then, carefully insert the plastic bottles into the ends, ensuring a tight fit. Be cautious not to overheat the PVC to maintain its integrity.
2. Modifying the Plastic Bottles
Next, drill a hole in the middle of each bottle, pointing upwards, for water to spray out. Create another hole at the bottom of each bottle for the rotating mechanism. Make sure one bottle has the hole on one side and the other bottle on the opposite side for balanced rotation.
3. Constructing the Rotating Mechanism with a Mechanical Bearing
- Find a larger PVC pipe that can snugly accommodate the mechanical bearing. Use PVC glue to secure the bearing inside one end of this pipe, ensuring it’s centered for smooth rotation.
- Slide the smaller PVC pipe through the mechanical bearing. This pipe acts as the axis of rotation and should move freely within the bearing.
- Seal both ends around the smaller pipe where it exits the larger pipe. Use waterproof sealant or rubber seals to prevent water leakage while allowing the pipe to rotate.
4. Assembly
- Connect your garden hose to the bottom end of the smaller PVC pipe. This setup will serve as the vertical support and water supply line for your sprinkler.
- Attach the PVC ‘T’ with the bottles to the top end of the smaller PVC pipe. Ensure the assembly is secure and balanced for even rotation.
- The larger PVC pipe with the bearing should be fixed in place, while the smaller pipe with the attached bottles and ‘T’ connector rotates within it.
Finishing Touches
Time for the moment of truth! Turn on the water and adjust the flow to test the sprinkler’s rotation. The water pressure from the holes in the bottles will cause the assembly to spin, providing an even distribution of water across your garden.
Tips for Success
- Choose a bearing that can withstand water exposure to ensure it lasts.
- Test the rotation before sealing everything to make adjustments if needed.
- Consider painting or treating the PVC parts to protect them from the elements and extend the lifespan of your sprinkler.
This upgraded rotating irrigation sprinkler design combines simplicity with efficiency, using a mechanical bearing for smoother operation. It’s a fantastic weekend project that yields a practical tool for garden watering, showcasing your DIY skills and commitment to sustainability. Start building your own eco-friendly sprinkler today!