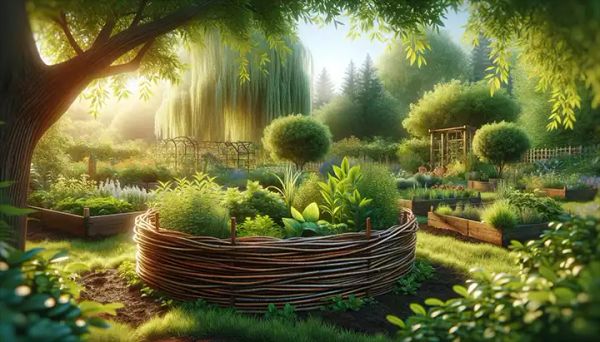
Wattle weaving has been a beloved technique for centuries, allowing us to create sturdy structures while embracing the beauty of nature. By interlacing flexible branches or twigs, such as willow or hazel, you can effortlessly build a durable and visually appealing raised garden bed.
Materials Needed

- Flexible branches or twigs (willow or hazel are ideal)
- Sturdy stakes (about 2 feet longer than the desired height of the bed)
- Hammer or mallet
- Pruning shears
- Garden gloves
- Measuring tape
- Soil and compost mix
Step-by-Step Guide
1. Planning and Design
- Determine the size and location of your raised bed, ensuring it receives adequate sunlight for your plants.
- Sketch a rough design with dimensions and shape in mind.
2. Preparing the Site
- Clear the area of weeds and debris.
- Level the ground where the bed will be placed.
- Mark the outline of the bed using string or chalk.
3. Gathering Materials
- Collect long, flexible branches or twigs. Willow and hazel are preferred for their flexibility and strength.
- Cut the branches into uniform lengths, considering the height and circumference of your bed.
4. Installing Stakes
- Cut the stakes to the desired length (height of the bed plus 2 feet).
- Hammer the stakes into the ground at regular intervals around the perimeter of the marked area, leaving about 2 feet of stake protruding above ground.
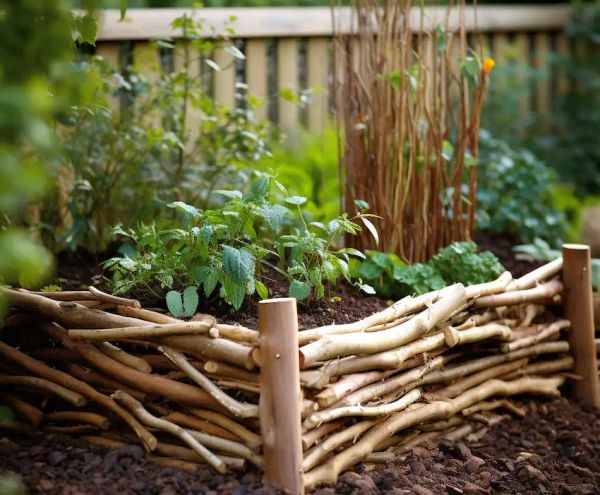
5. Weaving the Wattle
- Begin at one corner, weaving the flexible branches horizontally between the stakes. Alternate the side each branch starts on to create a sturdy interlocking structure.
- Gently bend the branches as needed and weave them tightly.
- Trim any excess lengths with pruning shears.
6. Building Up the Walls
- Continue adding layers of woven branches until the desired height is reached.
- Ensure each layer is tightly interwoven for stability.
7. Securing the Top
- Tuck the ends of the final layer of branches into the weave to secure them.
- Optionally, add a more rigid border on top for a neater finish.
8. Filling with Soil
- Mix garden soil with compost to provide a nutrient-rich environment for your plants.
- Fill the wattle raised bed with the soil-compost mixture.
9. Planting
- Choose plants that are suitable for the size of your bed and the available sunlight.
- Plant your seeds or seedlings according to their specific requirements.
10. Maintenance
- Regularly water your plants, ensuring the soil remains moist but not waterlogged.
- Add mulch to help retain moisture.
- Prune and maintain the wattle as needed to keep it tidy and intact.
Building a wattle raised garden bed is not only a fantastic DIY project, but also an eco-friendly way to enhance your garden. This traditional technique, although it may take some time, will result in a functional and attractive addition to your outdoor space.
Tips for Success
- Use freshly cut, green wood for longer-lasting wattles.
- The flexibility of the branches is crucial for easier weaving.
- Regular maintenance of the wattle will prolong its life.
By following these steps, you can create a beautiful and sustainable raised garden bed that will serve you for years to come. Happy gardening!