Elderberry juice, often enjoyed for its delightful flavor and numerous health benefits, can easily be made at home without the need for cooking. This simple method preserves the natural enzymes and vitamins that can be lost through heating. Here’s a step-by-step guide on how to make your own elderberry juice (syrup) that’s both delicious and nutritious.
Benefits of Elderberry
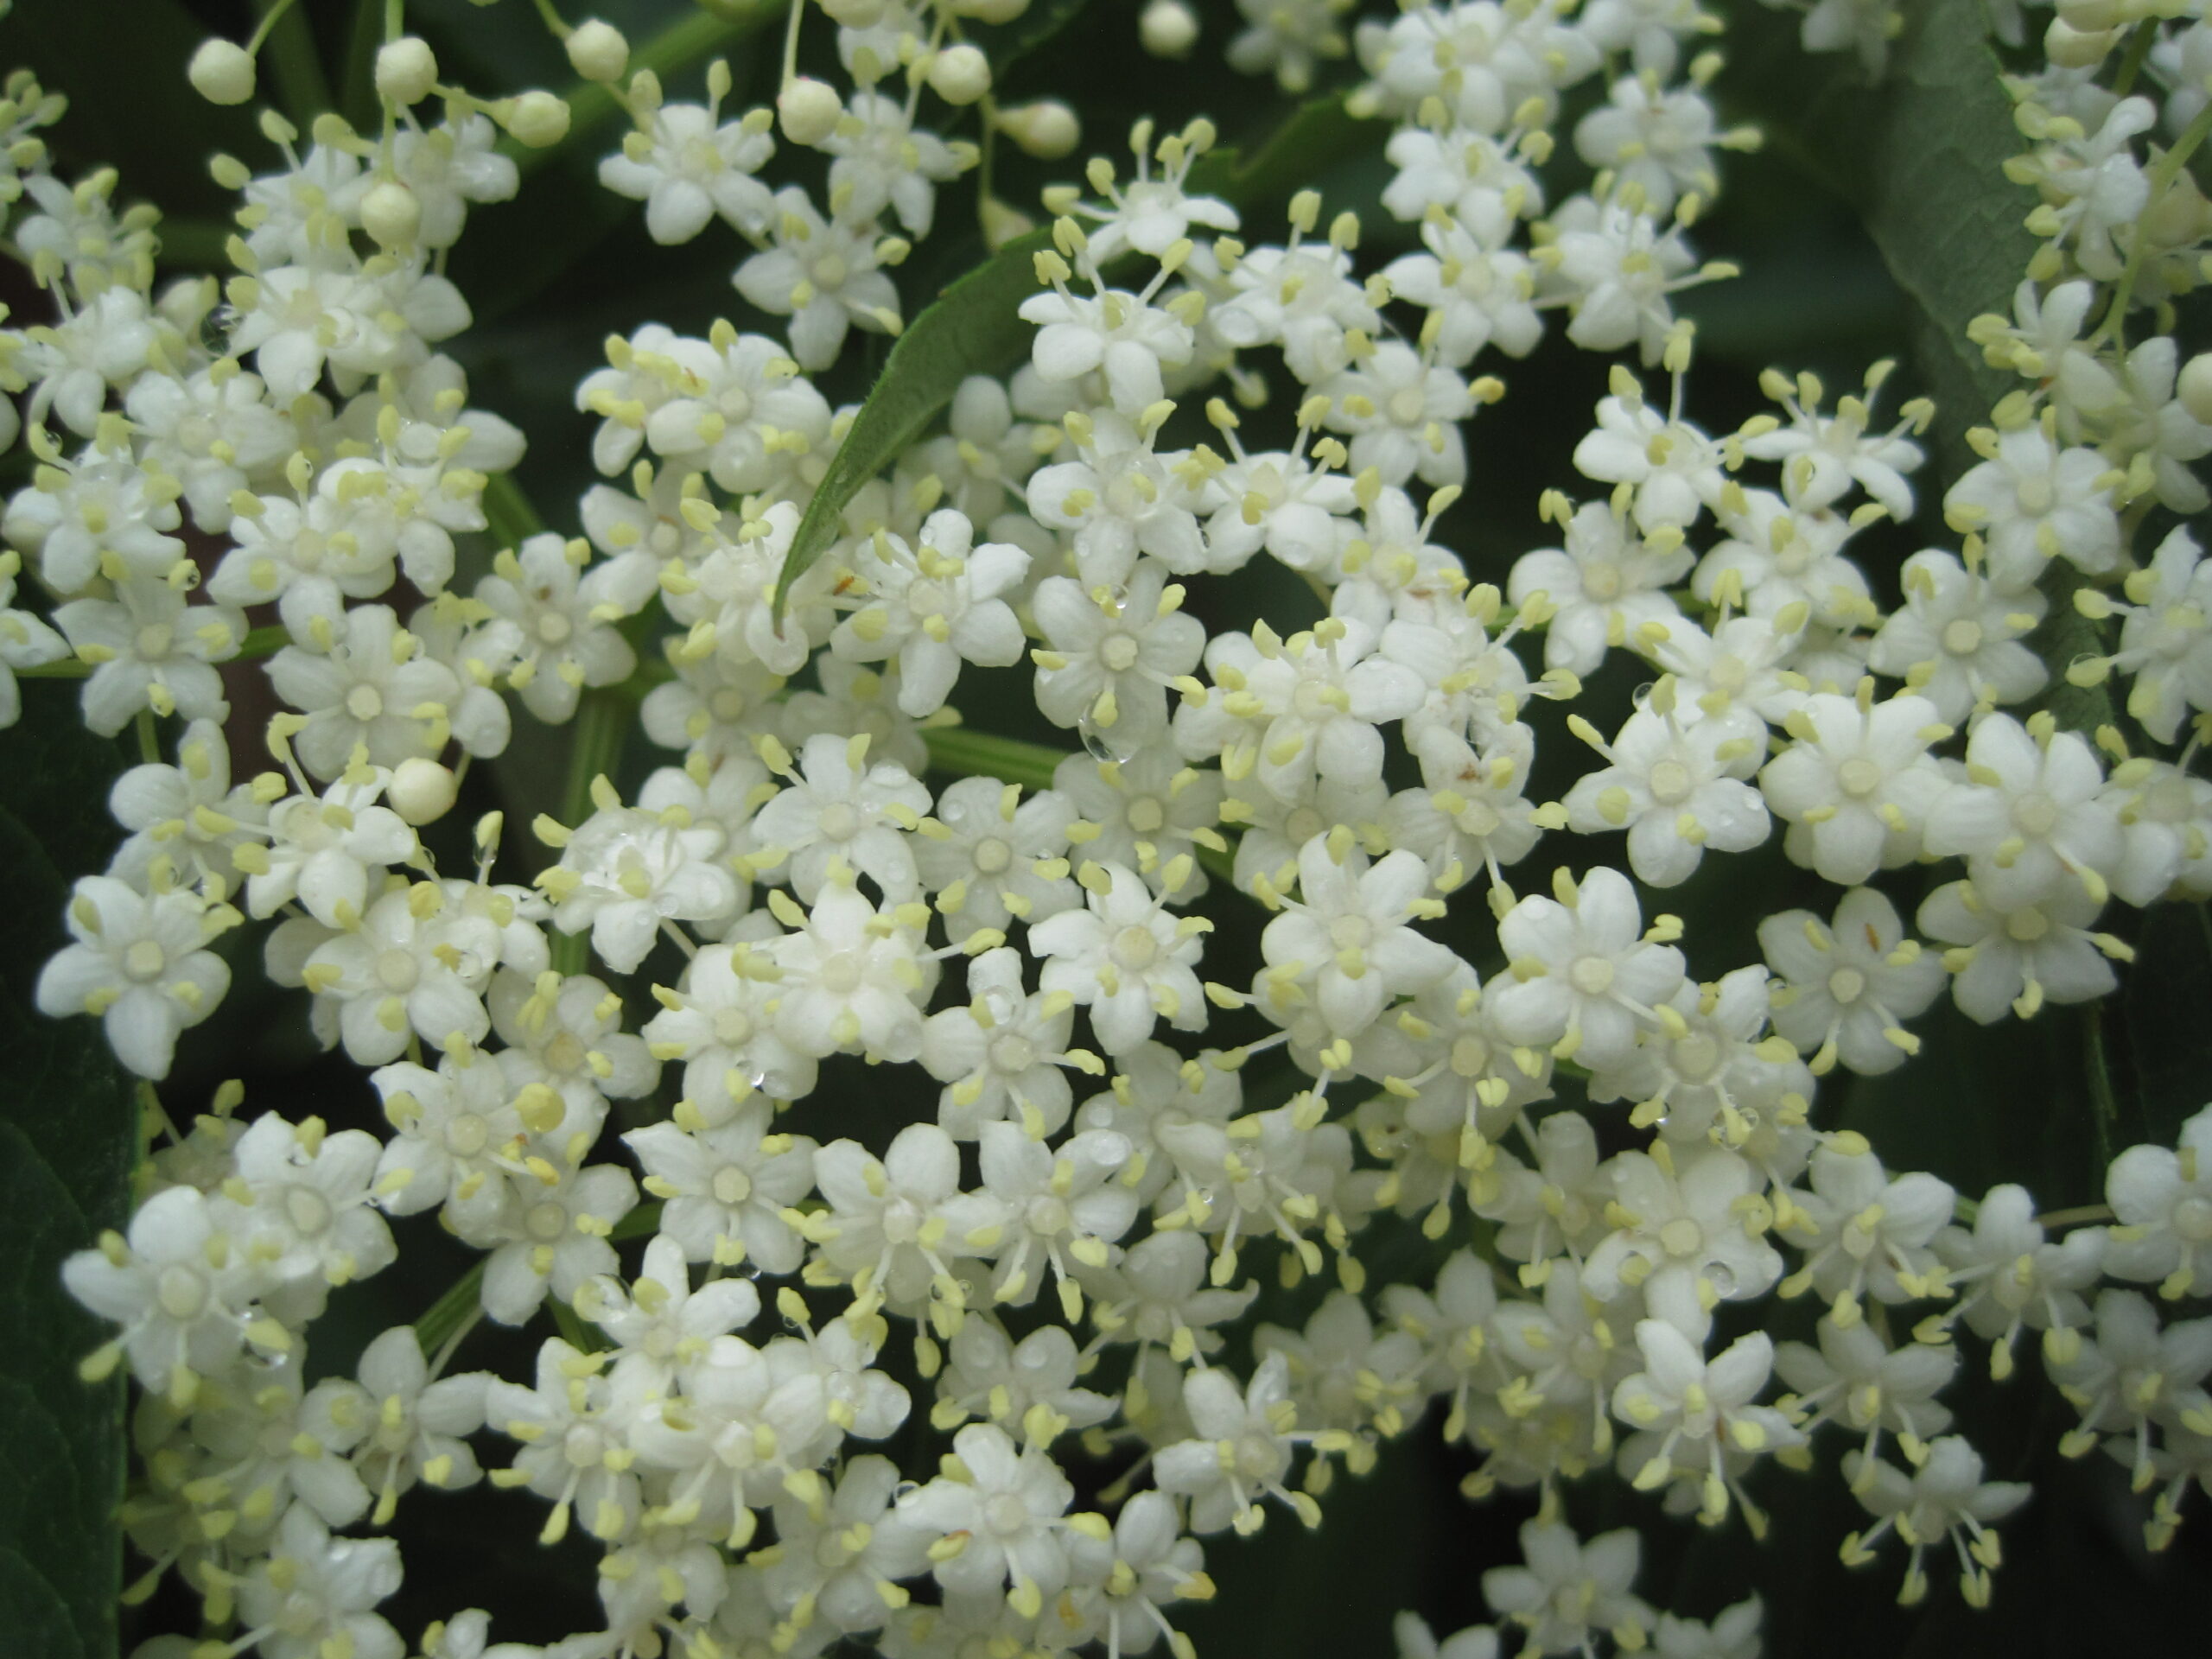
Elderberries are renowned for their high antioxidant content, which can help boost the immune system, fight inflammation, and lessen stress. They are also a good source of vitamin C, dietary fiber, and antioxidants known as flavonoids which are thought to have therapeutic effects.
Ingredients You’ll Need:
-
Fresh elderberries
-
Pure water
-
Natural sweetener (honey, agave syrup, or maple syrup, according to taste)
-
A lemon (optional, for added flavor and preservation)
Equipment:
-
A large bowl
-
A potato masher or a spoon
-
A fine mesh sieve or cheesecloth
-
A clean bottle or jar for storage
Instructions:
-
Prepare the Elderberries:
-
Start by carefully washing the elderberries to remove dirt and any small insects. Be sure to remove the berries from the stems, as the stems and leaves contain compounds that are not recommended for consumption.
-
-
Mash the Berries:
-
Place the elderberries in a large bowl and mash them using a potato masher or the back of a spoon. The goal is to break the berries apart and release their juice.
-
-
Add Water and Sweetener:
-
For every cup of mashed berries, add about three cups of water and a sweetener to taste. If using honey, a good ratio is about a tablespoon of honey per cup of water, but you can adjust this depending on how sweet you like your juice.
-
-
Let the Mixture Sit:
-
Cover the bowl and let the mixture sit for 24-48 hours at room temperature. This allows the flavors to meld together and the sweetener to dissolve completely.
-
-
Strain the Juice:
-
After the mixture has rested, strain it through a fine mesh sieve or cheesecloth into another bowl. Press or squeeze the mashed berries to extract as much liquid as possible.
-
-
Add Lemon Juice:
-
Squeeze in some fresh lemon juice, which not only enhances the flavor but also helps preserve the juice for longer.
-
-
Bottle and Refrigerate:
-
Transfer the juice into a clean bottle or jar. Seal and store it in the refrigerator. Properly stored, your homemade elderberry juice can last up to a week.
-
Enjoying Your Elderberry Juice:
This homemade elderberry juice is refreshing on its own or can be diluted with water or added to teas or cocktails for a fruity twist. It’s a fantastic way to enjoy a healthful drink that supports your well-being with every sip.
Making elderberry juice at home without cooking is a simple and effective way to capture the full nutritional benefits of this superfruit. Try this recipe and savor the natural goodness of elderberries any time of the year!