Embarking on the adventure of cheese-making at home can seem daunting, especially when imagining the need for specialized ingredients or processes. However, the joy of creating your own delicious cheese doesn’t have to be complicated. In fact, you can make a delightful, yeast-free cheese with just a few common ingredients and no special equipment. Whether you’re a seasoned home cook or trying something new, this recipe is bound to bring a sense of accomplishment and pleasure to your kitchen.
Why Yeast-Free Cheese?
Opting for yeast-free cheese is perfect for those looking to avoid yeast due to dietary restrictions or personal preference. Plus, the simplicity of this recipe makes it accessible to anyone interested in the art of cheese-making without the need for fermentation.
Ingredients You’ll Need:
-
1 liter (about 4 cups) of whole milk (the fresher, the better)
-
2-3 tablespoons of lemon juice or white vinegar
-
A pinch of salt
-
Herbs or seasonings of your choice (optional)
Making Your Own Cheese: Step-by-Step
-
Heat the Milk: Pour the milk into a large pot and slowly heat it on the stove over medium heat. Stir occasionally to prevent the milk from scorching on the bottom. You want to bring it to just before boiling, around 185-200°F (85-93°C).
-
Add the Acid: Once the milk is hot, add the lemon juice or vinegar and stir gently. You’ll see the milk begin to curdle as the acid does its work, separating the curds from the whey.
-
Let It Sit: Remove the pot from the heat and let it sit undisturbed for 10 minutes. The curds will continue to form during this time.
-
Strain the Curds: Line a colander with a clean cheesecloth or a thin kitchen towel and pour the mixture through to separate the curds from the whey.
-
Season: Sprinkle the curds with a pinch of salt and any other seasonings you like. Herbs, garlic powder, or even chili flakes can add a wonderful flavor to your cheese.
-
Press and Chill: For a firmer cheese, gather the corners of the cheesecloth and gently squeeze out as much whey as you can. Then, place the cloth-wrapped curds under a weight (a can or a bowl of water works well) for 1-2 hours in the refrigerator.
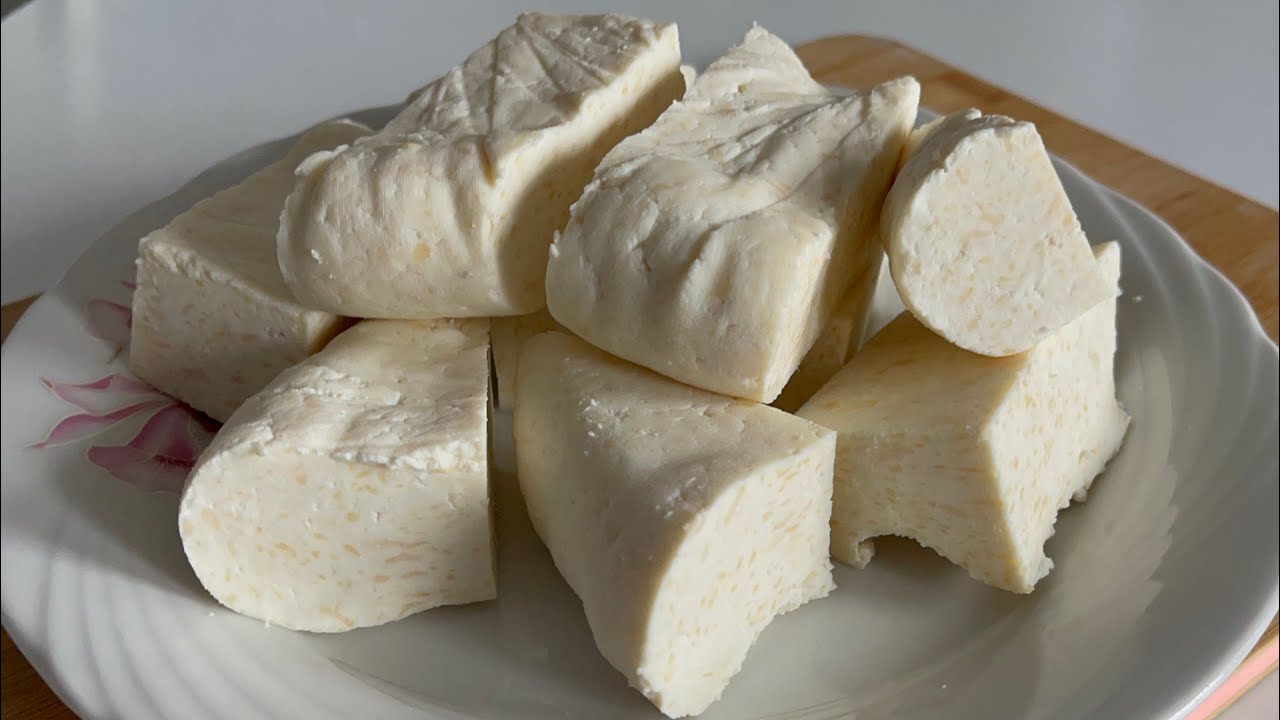
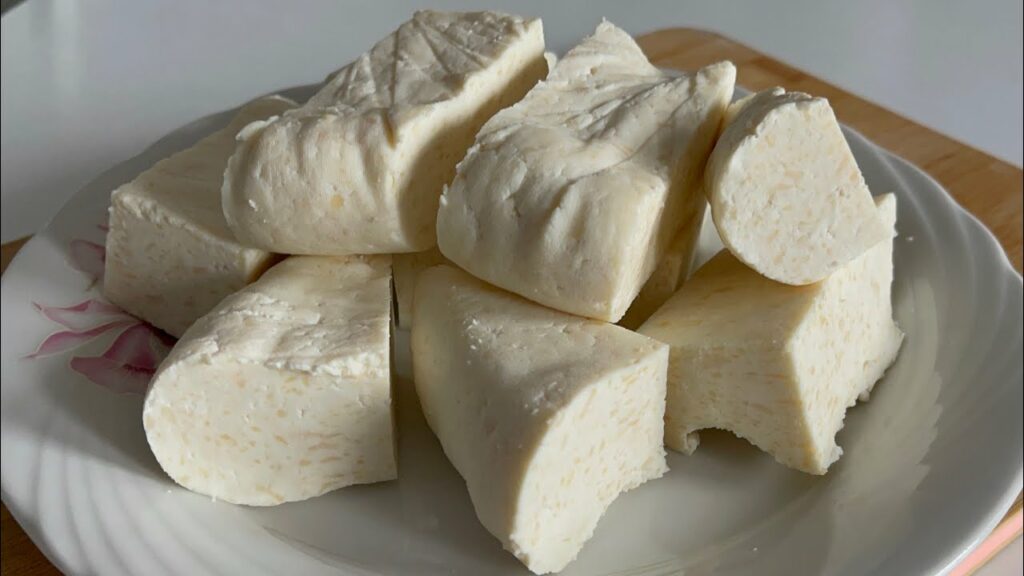
Enjoying Your Homemade Cheese
Congratulations! You’ve just made your own yeast-free cheese. Enjoy it spread on crackers, tossed in a salad, or as a delightful addition to any meal. Making cheese at home is not just about the delicious results but also about the joy of creating something truly unique with your own hands. So, next time you’re looking for a culinary adventure, remember this simple yet satisfying recipe.