There’s something truly special about making your own cheese at home. It’s a process that connects us to the traditions of the past, using simple ingredients to create something delicious and uniquely ours. Today, I’m excited to share a delightful recipe that allows you to make 1 kg of cheese using just 2 liters of milk, and without the need for vinegar or citric acid. It’s a gentle and satisfying project perfect for anyone looking to dabble in the art of cheese-making.
The Magic of Milk Transformation:
Our journey begins with 2 liters of good-quality milk. The type of milk you use can influence the flavor and texture of your cheese, so feel free to experiment with what’s available to you, be it cow, goat, or sheep milk. The process we’ll follow is simple, relying on natural acidity and heat to coax the milk into cheese, a testament to the wonders of traditional culinary techniques.
Ingredients and Tools:
-
2 liters of fresh milk (preferably full-fat for creamier cheese)
-
A pinch of salt (to taste)
-
A piece of muslin cloth or cheese cloth
-
A large pot
-
A slotted spoon
Step-by-Step Cheese Making:
-
Warm the Milk: Pour the milk into your large pot and slowly warm it over medium heat. You’ll want to heat it to just before boiling, around 85-90°C (185-194°F). It’s important not to let the milk boil as this can affect the texture of your cheese.
-
Curd Formation: Once your milk is warm, remove the pot from the heat. Let it sit undisturbed for 1-2 hours. During this time, the milk will naturally separate into curds and whey due to its acidity and the heat.
-
Curds and Whey Separation: After the resting period, you’ll notice the milk has separated. Using your slotted spoon, gently scoop the curds into the muslin or cheesecloth.
-
Draining: Gather the corners of the cloth and tie them to form a bag. Hang this bag over a bowl or sink to drain the whey from the curds. This draining process can take a few hours, so patience is key.
-
Pressing the Cheese: Once drained, place the cheese (still in the cloth) between two plates and put a weight on top. This will press the cheese and help form it into a solid block. Leave it like this for several hours or overnight.
-
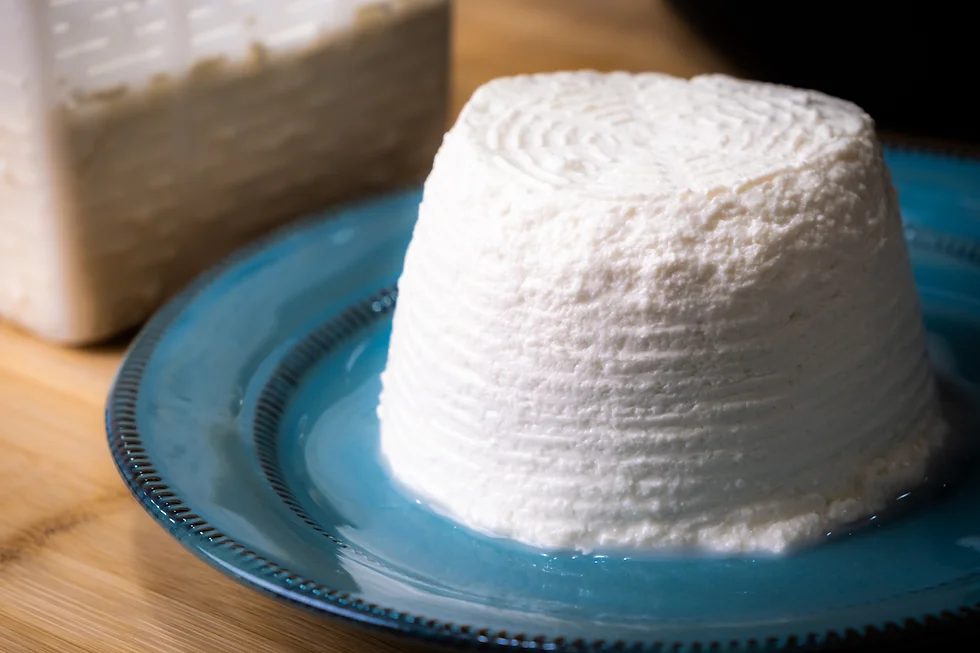
Finishing Touches: Unwrap your cheese, and voilà, you have a beautiful homemade cheese! At this stage, you can add salt to taste, mixing it gently into the cheese.
The Reward of Patience:
Making cheese at home is a rewarding experience that yields delicious results. This method, devoid of vinegar or citric acid, highlights the natural and simple beauty of cheese making. Whether you’re enjoying it on a slice of bread, with fruit, or as part of a meal, homemade cheese carries the flavor of satisfaction and accomplishment.
Invite the joy of cheese making into your kitchen and savor the process as much as the product. It’s a wonderful way to connect with the food you eat and cherish every