Transforming your garden with a beautiful brick walkway not only adds to its appeal but also provides a practical path that leads you through the splendor of your outdoor sanctuary. Building a brick walkway can be a rewarding do-it-yourself project that adds character and value to your home. Here’s a step-by-step guide to help you create a stunning and long-lasting brick walkway in your garden.
Step 1: Design and Planning
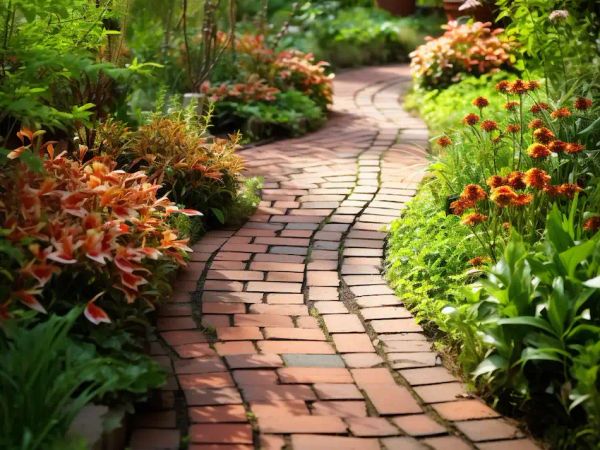
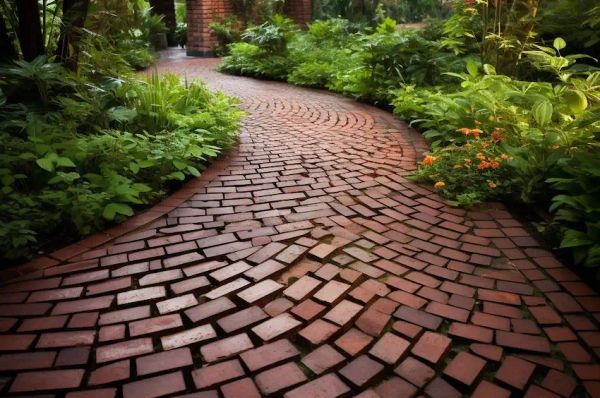
1.1. Visualize Your Path: Begin by envisioning the route of your walkway. Think about how it will integrate with your garden, its shape, and its purpose. A straight path will give a formal look, while a curved walkway can provide a more relaxed and natural feel.
1.2. Choose Your Bricks: Select the type of bricks you want to use. There are various options to choose from, such as clay bricks, concrete bricks, and reclaimed bricks. Each type offers different textures, colors, and durability. Consider the overall design of your garden and home while making your selection.
1.3. Measure Your Space: Determine the length and width of your walkway. This will help you calculate the number of bricks and the amount of other materials you’ll need.
Step 2: Preparation
2.1. Mark Your Path: Use stakes and string to outline the path of your walkway. This step ensures accuracy and helps you visualize the end result.
2.2. Excavate the Area: Dig up the soil along the path to a depth of about 8 inches. This will provide enough space for the base, sand, and bricks.
2.3. Create a Solid Base: Lay a base of crushed stone or gravel to stabilize your walkway. Aim for a thickness of about 4 inches and compact it thoroughly to prevent settling.
Step 3: Laying the Bricks
3.1. Add a Sand Layer: Over the gravel base, add a layer of sand that is about 2 inches thick. This will help with leveling and provide a flexible bed for the bricks.
3.2. Start Laying Bricks: Begin at one end of your path, firmly pressing each brick into the sand. Use a rubber mallet to tap them into place. Keep the bricks close together to prevent movement and ensure stability.
3.3. Cutting Bricks: If your design requires it, you may need to cut bricks to fit. A brick chisel and hammer or a masonry saw can be used for this task.
3.4. Ensure Level: Regularly check that your bricks are level and adjust as necessary by adding or removing sand underneath them.
Step 4: Finishing Touches
4.1. Fill the Joints: Once all the bricks are laid, sweep sand over the walkway to fill the gaps between the bricks. This will help lock the bricks in place.
4.2. Compact the Walkway: Gently compact the entire walkway to settle the bricks and sand. Using a hand tamper or giving it a light pass with a plate compactor should do the trick.
4.3. Final Cleaning: Sweep the walkway clean of any excess sand and debris. You can also rinse it with water to settle the sand in the joints.
Step 5: Maintenance
5.1. Regular Inspection: Occasionally check your walkway for any loose or uneven bricks. Detecting these issues early allows for quick repairs.
5.2. Weed Control: Keep an eye out for weeds sprouting between the bricks. Pull them out by hand or use a natural herbicide to keep your walkway looking pristine.
5.3. Re-sanding: Over time, the sand between the bricks may wash away. Re-sand the joints as needed to maintain the integrity of your walkway.
Building a brick walkway in your garden is a manageable project that significantly enhances the functionality and beauty of your outdoor space. By following these step-by-step instructions, you can create a durable and attractive path that will serve you for years to come. Embrace the process and enjoy the transformation of your garden landscape.